Creating Your Spaceship
Adding Sprites
Section titled “Adding Sprites”The Background
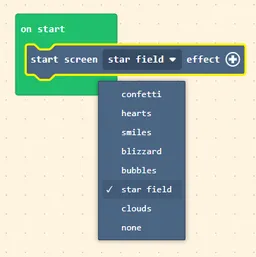
Section titled “The Background”Look for the start screen _ effect block via search or the Scene tab.

Drag and drop it into the on start block, and set the effect to star field.
[!info] The
on startblock is a special block that executes all of the action inside it when the game starts for the first time.
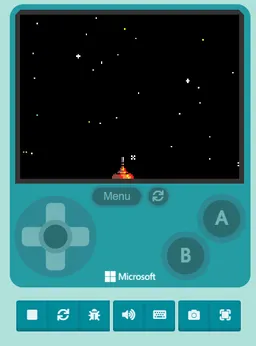
Finally, hit Play ▶ on the simulator to see your background effect!

[!tip] For Fun Feel free to try the other effects besides
star field! How aboutheartsorcloudsfor your background?
The Spaceship
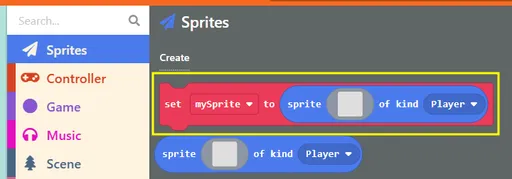
Section titled “The Spaceship”Look for the set mySprite to sprite _ of kind Player block via search or in the Sprites tab.
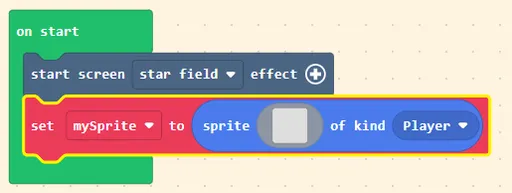
Drag and drop it underneath the start screen _ effect block, in the on start block.
[!info]
There are several “kind”s in MakeCode, and you can add your own. By default, there are “Player”, “Projectile”, “Food”, and “Enemy”. We use
Playerfor anything we can control.
mySpriteis the default name of your player. If you want to change how the player works, you should make those changes tomySprite(unless you rename it).In short, a sprite is the picture image associated with your player or other objects in the game.
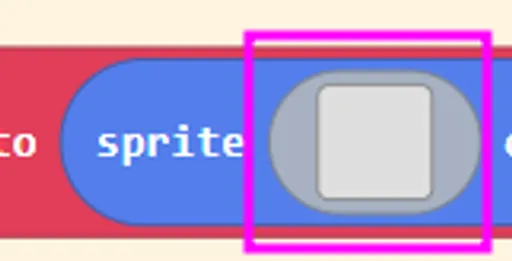
Now let’s decide what the spaceship looks like. Click on the empty square ☐ in the blue box.
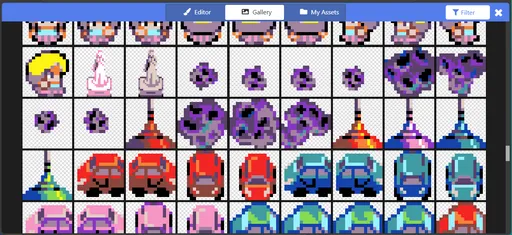
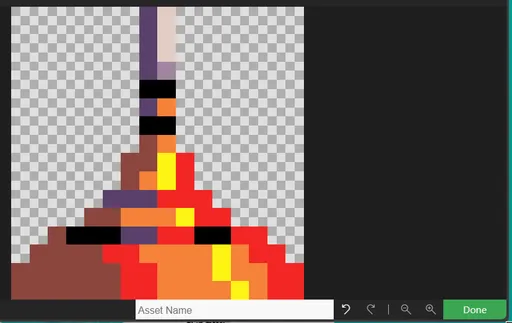
You will be brought to an image editor. You can draw your own spaceship, or you can use pre-made images. Click on the middle Gallery icon:

Scroll down in the gallery and you will see some spaceships and asteroids. Pick any spaceship color you like!
Finalize your choice by clicking Done in the editor.
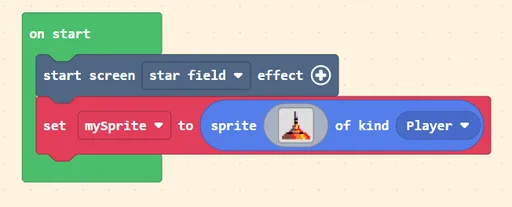
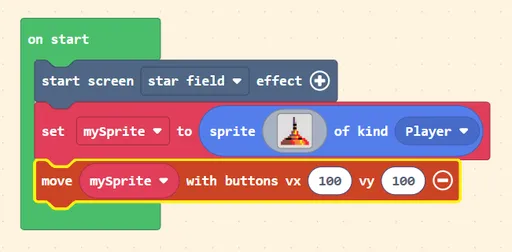
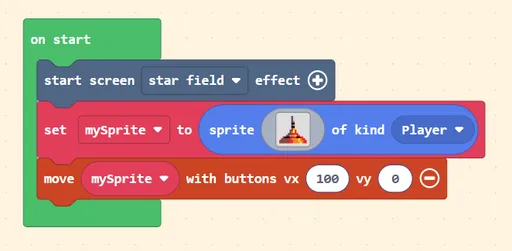
Finally, your on start block should look like this (you may use your own sprite):
Making it Move
Section titled “Making it Move”Look for the move mySprite with buttons (+) block via search or in the Controller tab.
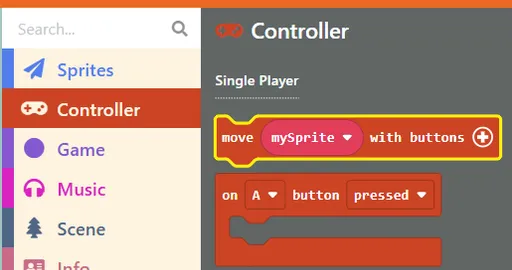
Click on the (+) button. Your on start block should look like this:
If you try to hit Play ▶ now, you can now move your spaceship up and down using the buttons on the screen or the arrow keys on your keyboard ⌨!
We’re not done yet, though. For this game, we want two things:
- The spaceship can only move left and right. It cannot move up or down.
- The spaceship stays at the bottom of the screen.
Let’s work on these!
Determining Movement
Section titled “Determining Movement”For this one, we don’t have to add new blocks. You have to edit the move mySprite with buttons block from earlier.
[!info]
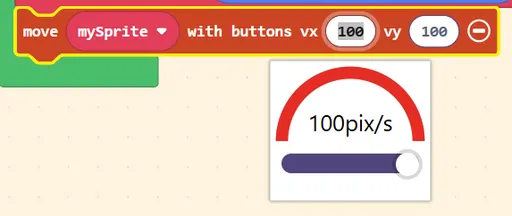
vmeans “velocity” or speed,xis for left-right direction, andyis for up-down direction.Therefore,
vxis for left-right movement andvyis for up-down movement.
To stop the spaceship from moving up or down, set vy to 0.
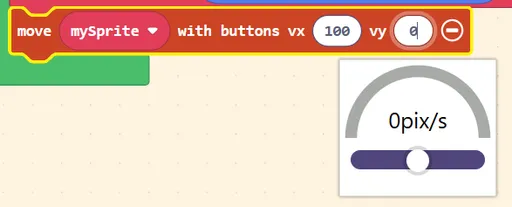
If you try to hit Play ▶ now, you can no longer move your spaceship up or down! It can still move left and right, which is what we want.
[!tip] For Fun Try to change the
vxandvyvalues to other numbers! What happens if both are0? What happens if one of the numbers are negative?
At the end of this, your on start block should look like this:
Locking to the Bottom of the Screen
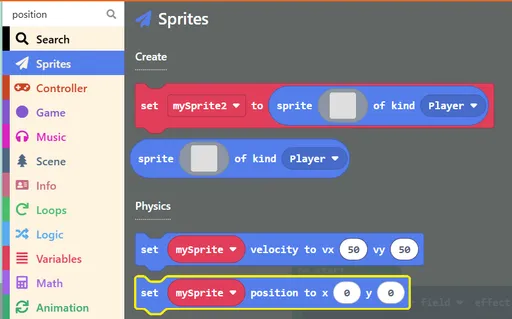
Section titled “Locking to the Bottom of the Screen”Look for the set mySprite position to x _ y _ block via search or in the Sprites tab.
If you look at the game, your spaceship is now at the top-left side of the screen. Let’s adjust this new block to get something that looks better!
First, click on the x value. A convenient little screen appears to help you have an idea where the spaceship will be. We want the spaceship to be in the middle of the screen, so roughly 75 looks good.

Secondly, click on the y value. We want the spaceship at the bottom of the screen, so roughly 112 looks good, but try play around!
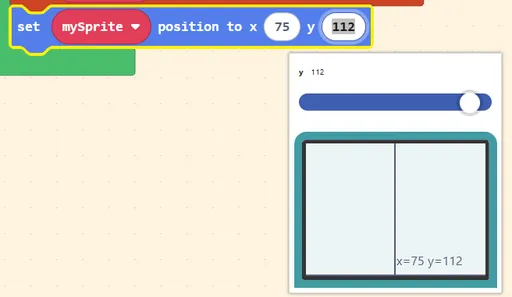
Finally, hit Play ▶ on the simulator, and we should see the ship is exactly where we want it to be: